Creating a beautiful outdoor living space is a dream for many homeowners. While many options are available, pea gravel patios have become increasingly popular due to their low cost and natural aesthetic. However, maintaining a pea gravel patio can be challenging, as the loose stones tend to shift and spread over time.
An epoxy resin is one of the most effective ways to stabilize your pea gravel patio. Epoxy is a popular material for stabilizing loose gravel and preventing it from spreading or shifting over time.

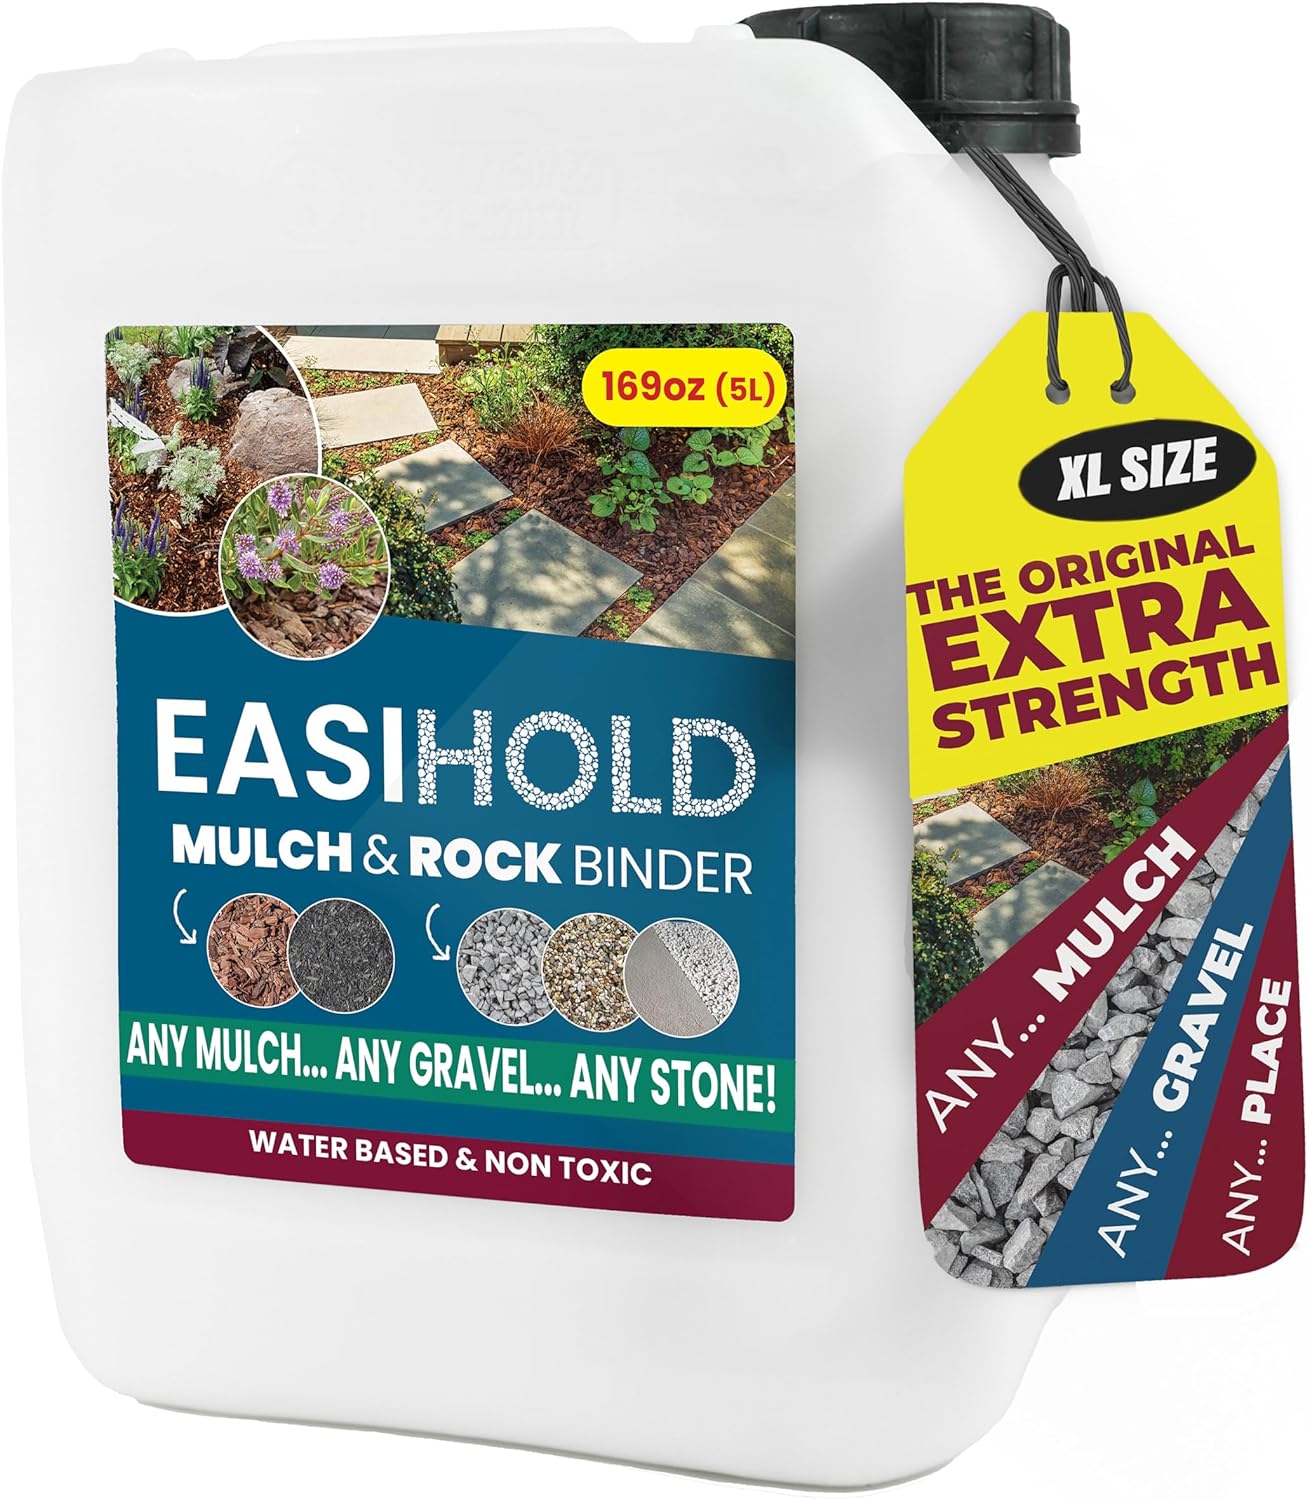
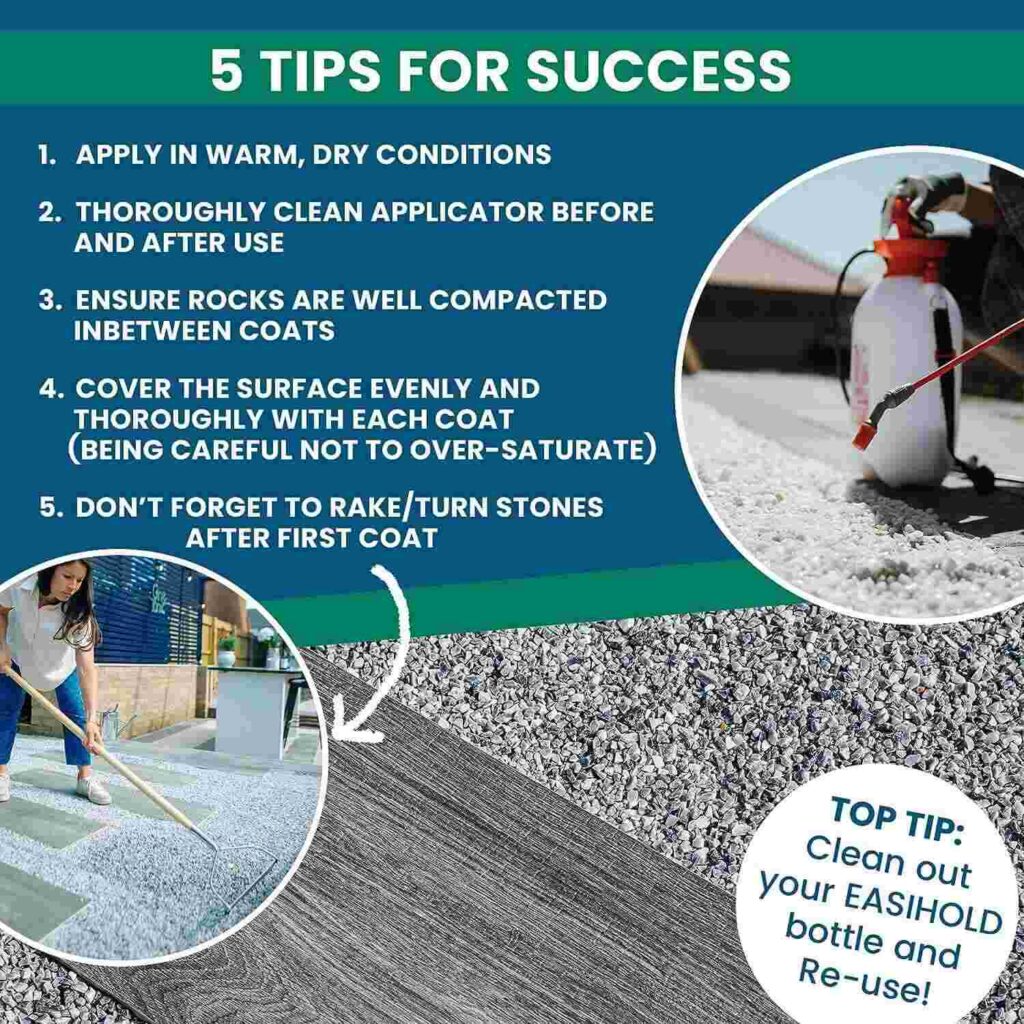
NO MORE LOOSE ROCKS: Easihold, the original gravel glue, is designed to hold together your pea gravel, rocks, pebbles, and mulch securely. It is environmentally friendly and will not harm your pet or child should they come in contact with the treated pea gravel or rocks.
If you are considering creating your own Epoxy Pea Gravel Patio, you should know the necessary steps and materials to achieve a beautiful and long-lasting result.
WHAT YOU’LL NEED
- Gravel-Lok DIY Stone Bonding Kit (or something similar)
- A bucket or wheelbarrow for mixing
- A level (if you’re creating a patio, you’ll require a level to ensure that it’s even)
You may also like:
- Decomposed Granite vs Crushed Granite: Uses and differences
- How to Build a Gravel Fire Pit Area with a Seating Space
Instructions
STEP 1: Preparation and Washing of Pea Gravel
Before you begin, washing the gravel thoroughly to remove any dirt or dust is crucial. Rinse the gravel with water and strain it until the water runs clear. It’s essential to wait until the gravel is entirely dry before installing. Moreover, installing the epoxy on a sunny day with little wind, preferably in the morning, is advisable. Before starting, check the package instructions to ensure a suitable outdoor temperature.
STEP 2: Planning and Building the Pea Gravel Patio
If you plan to create a patio, work on the area between concrete pads; following the appropriate instructions for building a pea gravel patio is vital. However, it would help if you postponed adding the pea gravel until later. If you’re looking to fill the creases on your driveway or patio, you’ll need to remove all the existing gravel and then wash it before putting it back in place using epoxy.
STEP 3: Mixing and Applying Epoxy
It’s essential to be well-prepared when working with epoxy because once you mix it, there’s a limited amount of time to use. Have all your necessary materials ready and get extra help if possible. Follow the manufacturer’s instructions for mixing the solution, and then pour it over clear, dry pea gravel in a bucket or wheelbarrow. Mix the solution until the pea gravel is fully coated. Once the gravel is coated, you’re ready to begin installation.
STEP 4: Filling the Designated Area and Ensuring Proper Drying
If you’re working on a patio, move the mixture to the designated area and ensure it’s level. When filling concrete pads for a patio or driveway, fill in between the openings and smooth out any bumps. Be careful not to get any epoxy on your concrete, as it could leave stains. After filling the entire area, follow the package instructions to ensure it dries correctly before use.
Conclusion
If this task is too challenging, consider seeking additional assistance or asking specific questions at your local garden center or building supply store. You can also hire a landscape installation company to help you out. Good luck with creating your beautiful Epoxy Pea Gravel Patio!
You may also like:

John Brown
John Brown brings a wealth of experience and passion for DIY, Home and Garden, and Woodworking. With a dedication to empowering enthusiasts, he shares insights, tips, and comprehensive guides to help you transform spaces and master woodworking skills.