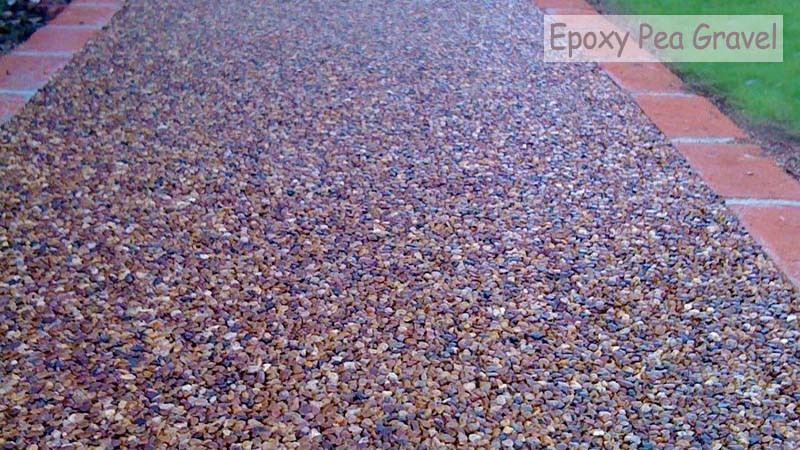
Pea gravel patios are popular among homeowners because they are relatively easy to install and maintain, offering a natural and aesthetically pleasing look.
This guide will walk you through building your pea gravel patio, from choosing the right materials to adding the finishing touches.
The table below provides a comprehensive summary of all you need to know.
Pea Gravel Patio Summary: Construction, Benefits, and Maintenance
| Aspect | Description |
|---|---|
| Material | Pea gravel (small, rounded stones) |
| Patio Construction | Prepare ground > Install edging > Add base > Lay gravel |
| Benefits | – Affordable |
| – Low maintenance | |
| – Allows water drainage | |
| Maintenance | Raking to level > Weed control > Occasionally top up |
| Design Options | Various colors available > Combine with other materials |
| Considerations | Can shift over time > May require occasional re-leveling |
| Sustainability | Permeable surface > Eco-friendly |
About Pea Gravel for Patios
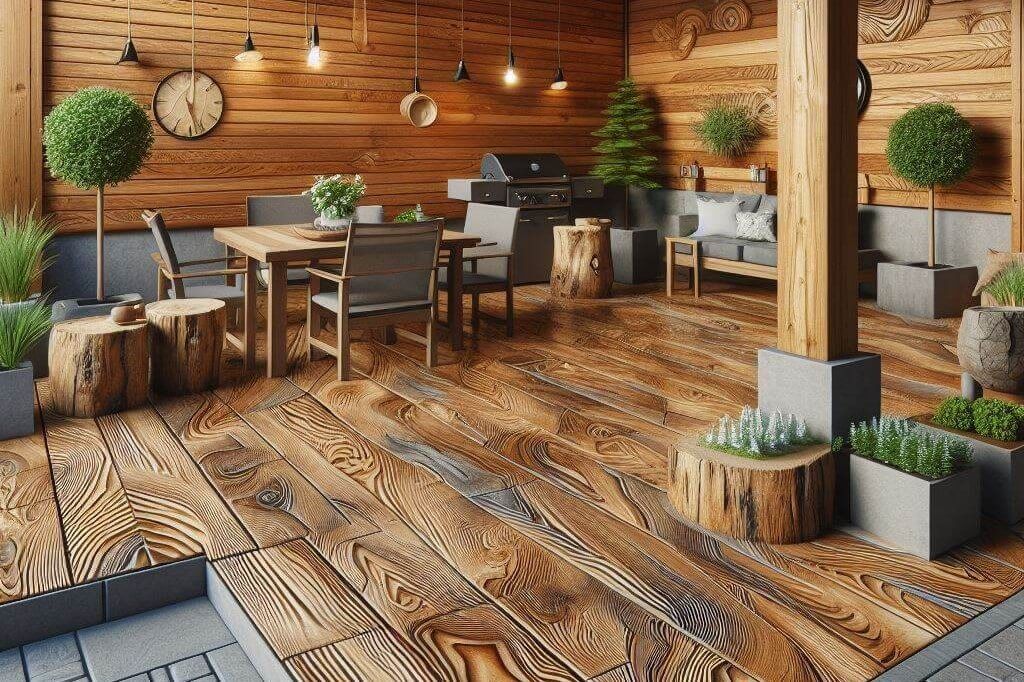
Unlike other labor-intensive and pricey hardscaping materials such as poured concrete or flagstone, pea gravel keeps things simple, making it an ideal way to build your outdoor space. These tiny, smooth stones can help you create a patio practically within a full day’s work. Follow our simple step-by-step guide, and have it ready just in time for your evening barbecue. Let’s get started!
You can read more about Pea Gravel Patios Pros and Cons here.
Pea Gravel Project Details
To start, envision a 16-by-16-foot patio area with a 2 to 3-inch gravel depth. The dimensions are adaptable to suit your patio’s size, but constructing a wooden frame becomes essential because pea gravel is loose and tends to shift. Remember, the outside wood should be treated for ground contact to resist decay.
Survey Patio Space Area
Before digging, it’s crucial to conduct thorough checks to prevent accidental interference with electric lines or water pipes. Ensure the area’s safety by verifying that no underground utilities will be disrupted before excavation.
Buy/Rent Tools and Materials Needed
Gearing up for this project requires a set of tools and materials. You can check out our article on some of the tools you can rent at Lowe’s.
Equipment / Tools
- Measuring tape: Map your domain.
- Shovel: Banish unwanted guests (weeds, not welcome!).
- Mattock/pickaxe (optional): For stubborn foes.
- Bow rake: Smooth the ground.
- Drill & wood bit: Forge alliances with metal.
- Hand sledge: Hammer home agreements.
- Wheelbarrow/cart: Ferry supplies like a loyal steed.
- Garden hose (optional): Celebrate with a cleansing shower.
Materials
- Three cubic yards of Pea gravel
- 8 Pressure-treated 4×6″ or 3×4″ landscape timbers, 8 feet long
- 24 #4 rebar pieces, 12 inches long
- Landscape fabric
- Landscape fabric pins (garden staples)
Step 1: Check Selected Patio Space Incline
Managing pea gravel on slopes can pose challenges, as it tends to shift on steeper inclines. To prevent this, opt for a gentle slope of less than 20 degrees. Additionally, heavy foot traffic may displace the gravel, while intense rainfall could lead to washing it away. Selecting a level area with excellent drainage helps mitigate these issues, ensuring a more stable and long-lasting pea gravel installation.

Step 2: Order the Gravel
Source your pea gravel from a nearby supplier. For a 16×16 foot patio at a depth of 3 inches, approximately 1.58 cubic yards are required. Remember that depths exceeding 3 inches can make walking challenging, while depths less than 2 inches might expose the landscape fabric over time. To streamline the process, consider ordering two full yards – this simplifies the order and provides extra gravel for future touch-ups.

Step 3: Square the Perimeter
Utilize twine to mark the perimeter of your 16×16-foot patio area. Verify its squareness by measuring the diagonals; ideally, they should match in length, indicating a perfect square shape. Make adjustments to the timbers until both diagonals align evenly.

Step 4: Clear the Ground
Grab your shovel and remove all plants, rocks, and debris from the entire patio area, including where your timber frame will sit. If you encounter stubborn roots, use the mattock or pickaxe to break them up and remove them.
Step 5: Rake and Tamp
After clearing the area, use a rake to smooth out the soil and ensure the ground is flat. Once leveled, pack down the soil firmly. You can do this by walking over it repeatedly or using a hand tamp.

Step 6: Build the Timber Frame
Grab your eight pressure-treated timbers and lay them out to form a 16×16-foot square. At each corner, the ends of two timbers-like puzzle pieces overlap, one pushing against the side of the next.
Read more about different types of wood & their uses here.
Continue around the entire perimeter, ensuring each side has one end pushing against the side of another and one overlapping at the corner. This creates a strong, secure frame for your gravel.

Step 7: Secure the Frame
Create three holes in each timber using a drill fitted with a 1/2-inch wood bit. Place one hole a few inches from each end and one in the center. Take the 12-inch #4 rebar pieces and drive them into each hole using your hand sledge. Push them in until they sit flush with the wood surface or slightly below.

Step 8: Lay Landscape Fabric
Unroll and overlap: Spread out strips of landscape fabric across the entire patio area within the timber frame. Ensure each strip overlaps the next by 4 inches, creating a seamless barrier.
Seal the sides: Extend the fabric up the sides of the timber frame by about 1-2 inches, ensuring everything is covered.
Pin it down: Secure the fabric firmly using landscape fabric pins. Push them around the perimeter and the overlapping seams to prevent weeds from sneaking through.

Step 9: Fill in the Gravel
Anchor the Fabric: Fill your trusty wheelbarrow/cart with pea gravel and bring it close to the frame. Then, gently toss shovelfuls of gravel onto various spots within the patio to secure the landscape fabric further. Keep your feet and shovel away from the fabric to avoid snags.

Layer by Layer: Fill empty areas with more gravel, creating a shallow layer. Keep adding and spreading the gravel with your rake until you reach your desired depth (2-3 inches is comfortable).
Rake the gravel surface thoroughly to ensure it’s flat and level. This is your moment to create a smooth, inviting canvas.
Optional Rinse: Give your gravel a cleansing shower with the garden hose. This washes away any dust or debris.
And voila! Your pea gravel patio is ready for exploration and relaxation.

Pea Gravel Patio FAQs:
Q: Is gravel a good choice for a patio?
A: Absolutely! Gravel patios offer several advantages:
- Budget-friendly: Pea gravel is significantly cheaper than materials like concrete or pavers.
- DIY friendly: Installation is easy, making it a great project for handy homeowners.
- Low maintenance: Just occasional sweeping or raking is needed.
Q: What type of gravel is best for patios?
- Pea gravel is a top choice! Its smooth, rounded stones are comfortable to walk on. Unlike sharp-edged gravel, they won’t dig into your feet.
- Durable: They withstand weather and heavy use without cracking.
- Drainage-friendly: Water can easily flow through, preventing puddles.
Q: What should you put under pea gravel?
- Landscape fabric is essential as it acts as a weed barrier, preventing unwanted plant growth while allowing water drainage.
Bonus Tip: Choose pressure-treated timbers for your frame to prevent rot and ensure long-lasting enjoyment of your pea gravel oasis.
You may also like

John Brown
John Brown brings a wealth of experience and passion for DIY, Home and Garden, and Woodworking. With a dedication to empowering enthusiasts, he shares insights, tips, and comprehensive guides to help you transform spaces and master woodworking skills.